
Home Design Process
Single Homes
Design starts with your real budget

Step 1. Define your budget
Before choosing bedrooms or layouts, we start with your real build budget.
This determines the maximum floor area that makes financial sense — so your home works on paper and in real life.
Design for real life, not assumptions

Step 2. Any special requirements
At this stage, we identify any specific requirements that need to be considered early in the design process.
This may include accessibility or mobility considerations (now or in the future), health or care needs, working from home, ageing in place, or any other non-negotiables that affect how the home needs to function.
Identifying these requirements early ensures they are designed in from the start, rather than being retrofitted later, and helps guide decisions around layout, circulation, and overall suitability.
Let the site inform the design — even if you haven’t found it yet
Step 3. Site Requirements
At this stage, we confirm the site conditions the home needs to respond to.
If you already have a site, this includes:
Site shape and size
Orientation
Whether the site is generally level or sloping
Access location
This allows the design to respond directly to the specific characteristics of your site.
If you don’t yet have a site, we:
Use your budget and brief to define a likely site size and shape
Assume a generally level site
Design the home to work across a range of site orientations, rather than locking it to one specific direction
This approach allows you to progress your home design before securing land, giving you greater flexibility when searching for potential sites.
Vehicle access and car storage preferences are also considered at this stage, including whether vehicles need to access the site, preferences for on-site parking, carports or garages, and whether stacked parking or reversing on site is acceptable.
On compact or constrained sites, not all access or parking preferences may be feasible. Where preferences conflict with site constraints, we’ll advise on practical alternatives.
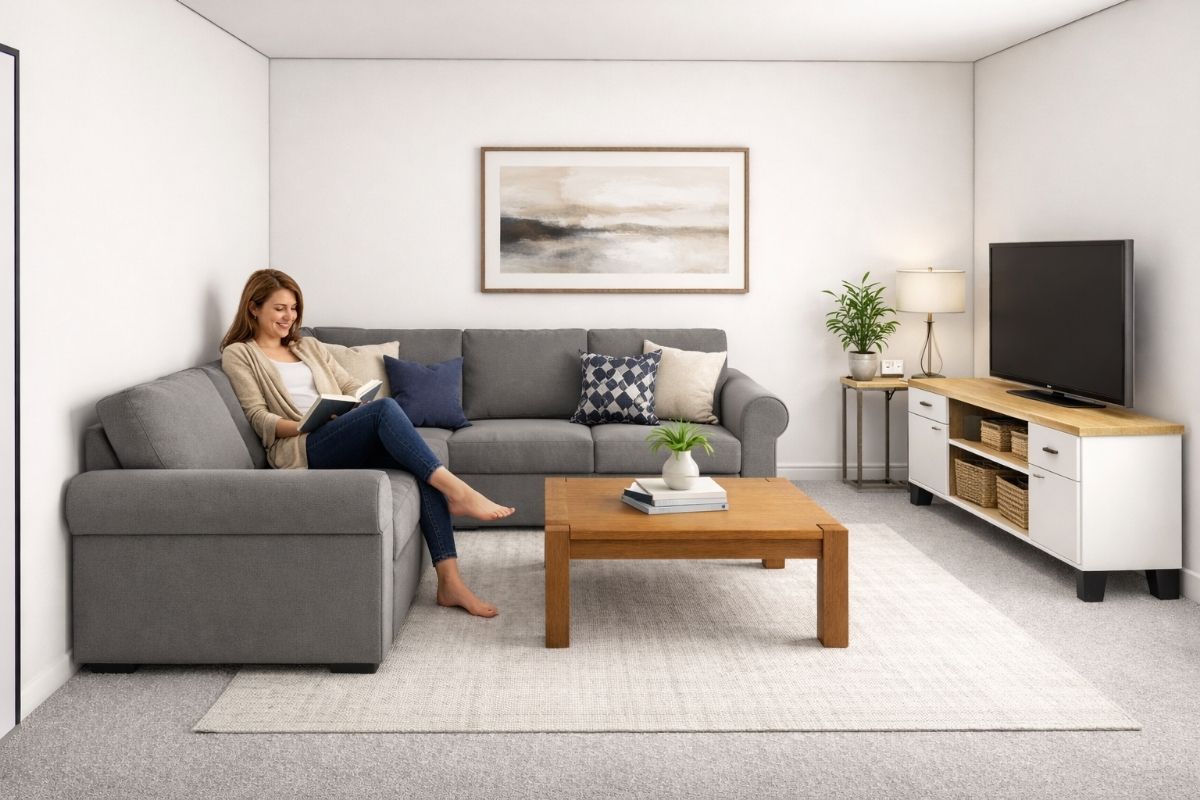
The heart of the home comes first
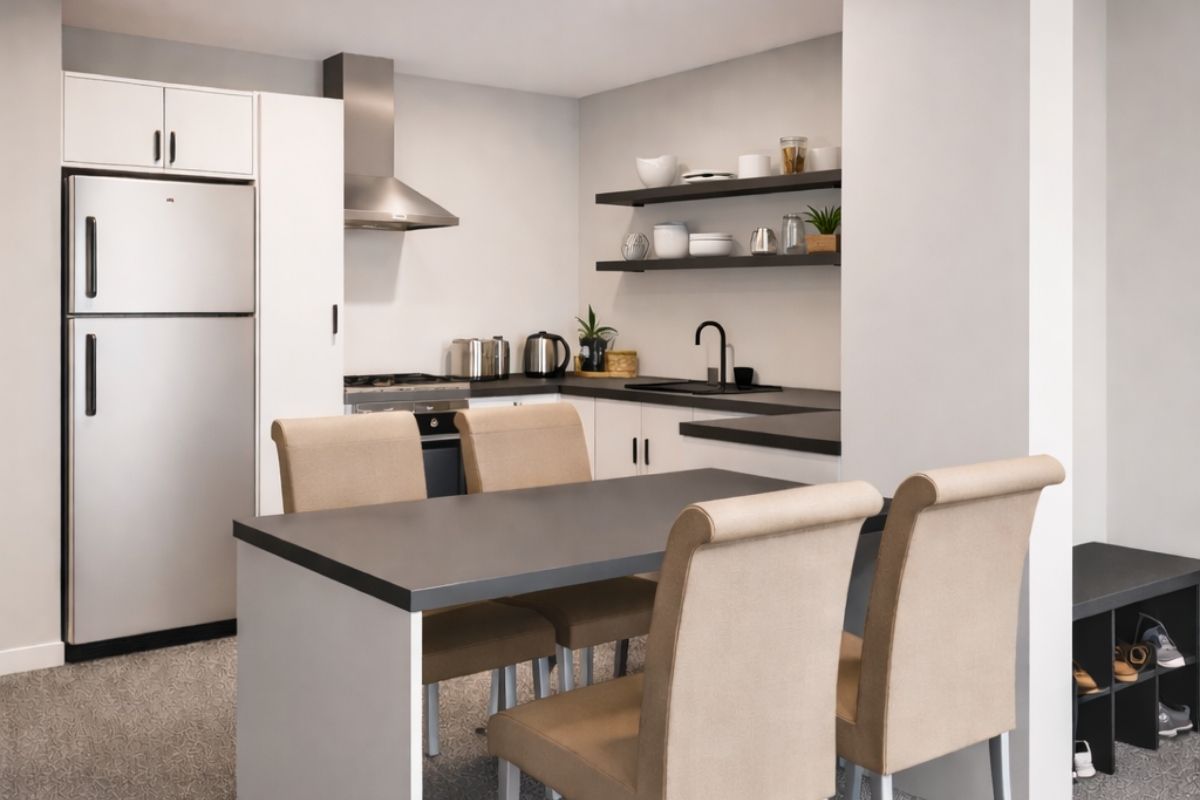
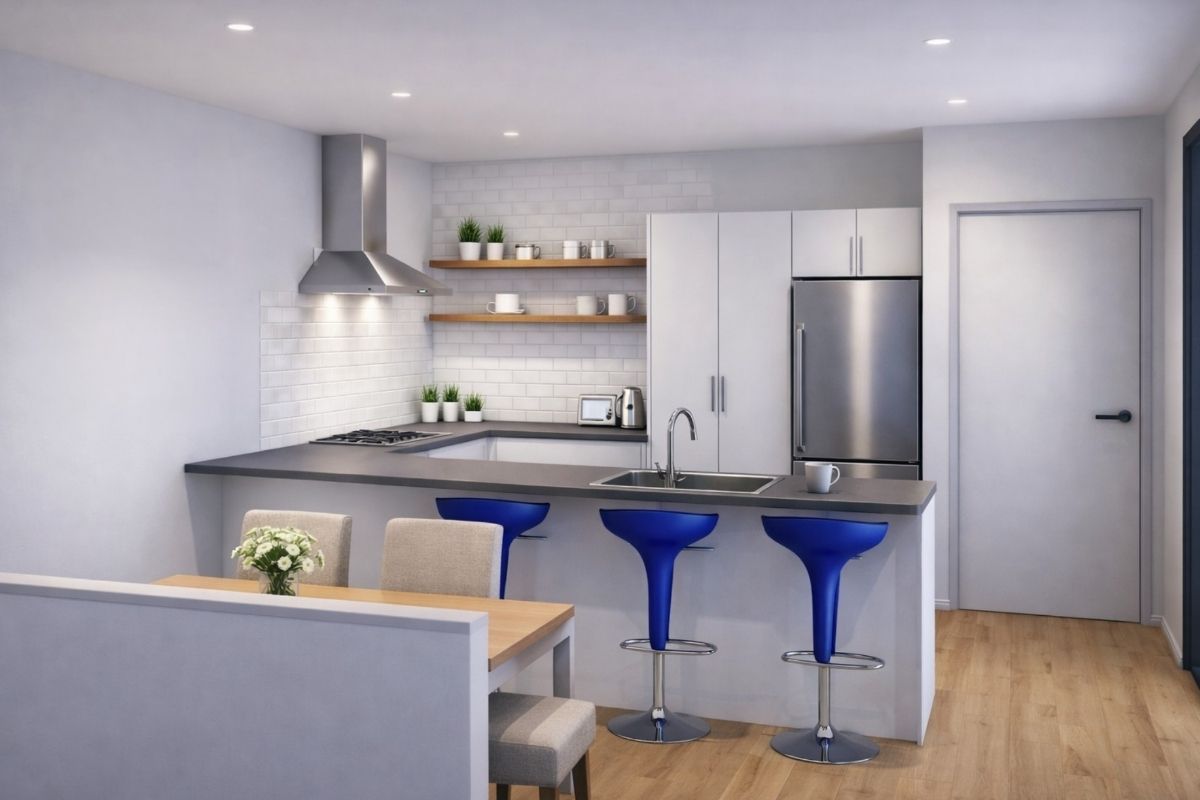

Step 4. Choose your kitchen–dining–living option
Open-plan social hub
Compact + efficient for smaller footprints
Separate dining space or integrated kitchen/dining space
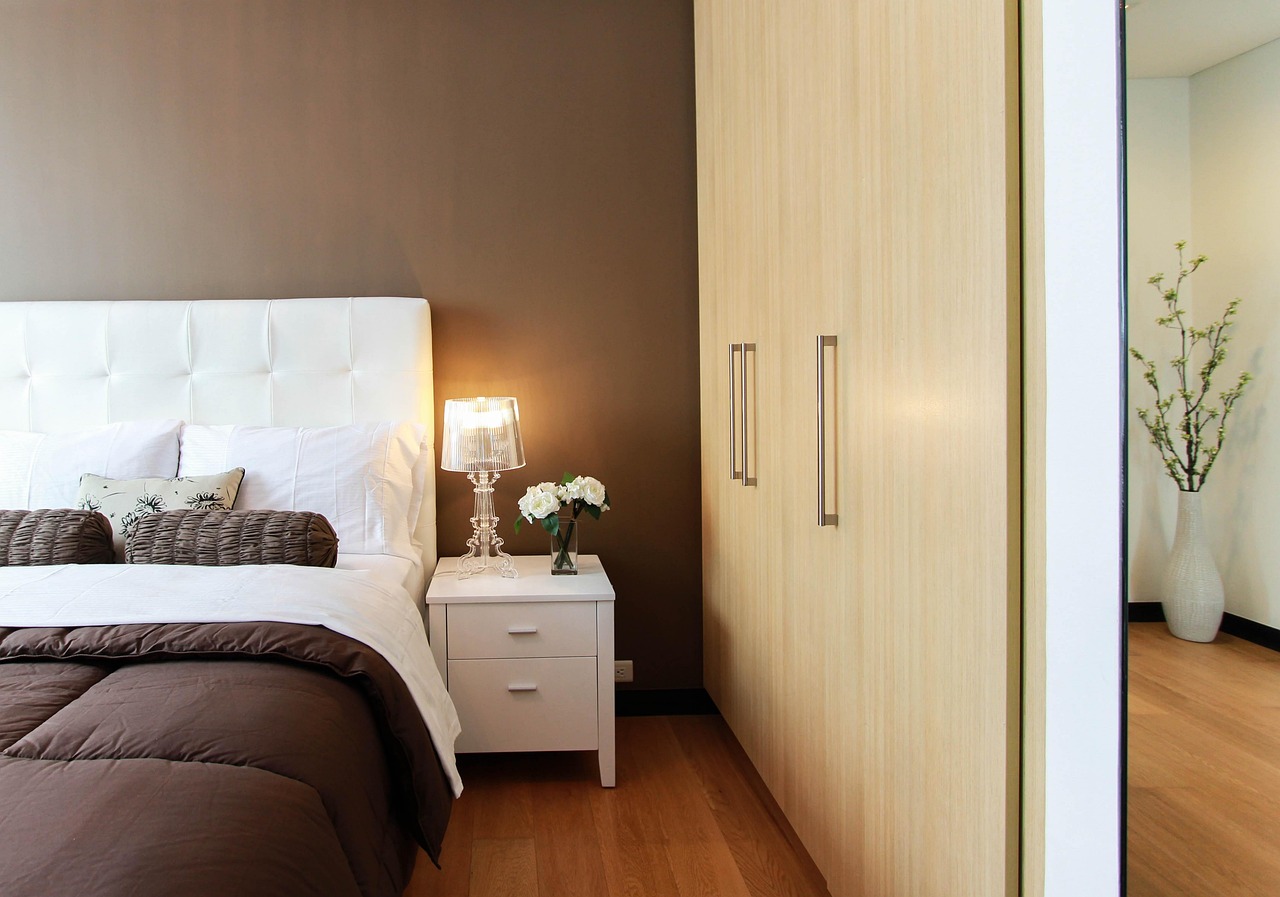
Bedrooms designed for real life
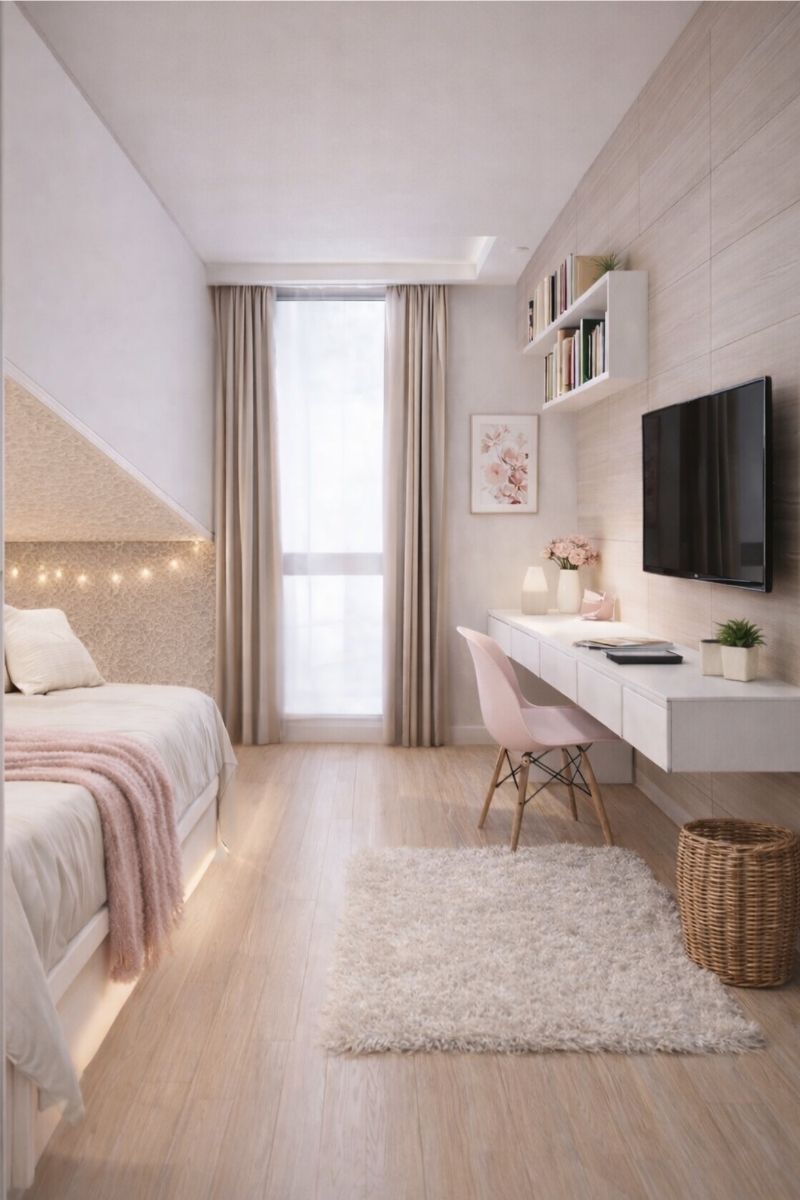
Step 5. Choose your bedroom configuration
Number of master / double-sized bedrooms
Number of children’s / office bedrooms
Then, if you’d like to reduce overall floor area without sacrificing comfort, you can choose one of our clever space-saving bedroom options.
Optional smart layout:
Two bedrooms share the same vertical footprint for the bed zone — using height instead of extra floor area.
This creates:
Two comfortable, functional teenage or children’s bedrooms
Double sized beds, storage, and privacy
A smaller overall footprint without the rooms feeling “small”
Bathrooms that work harder in less space
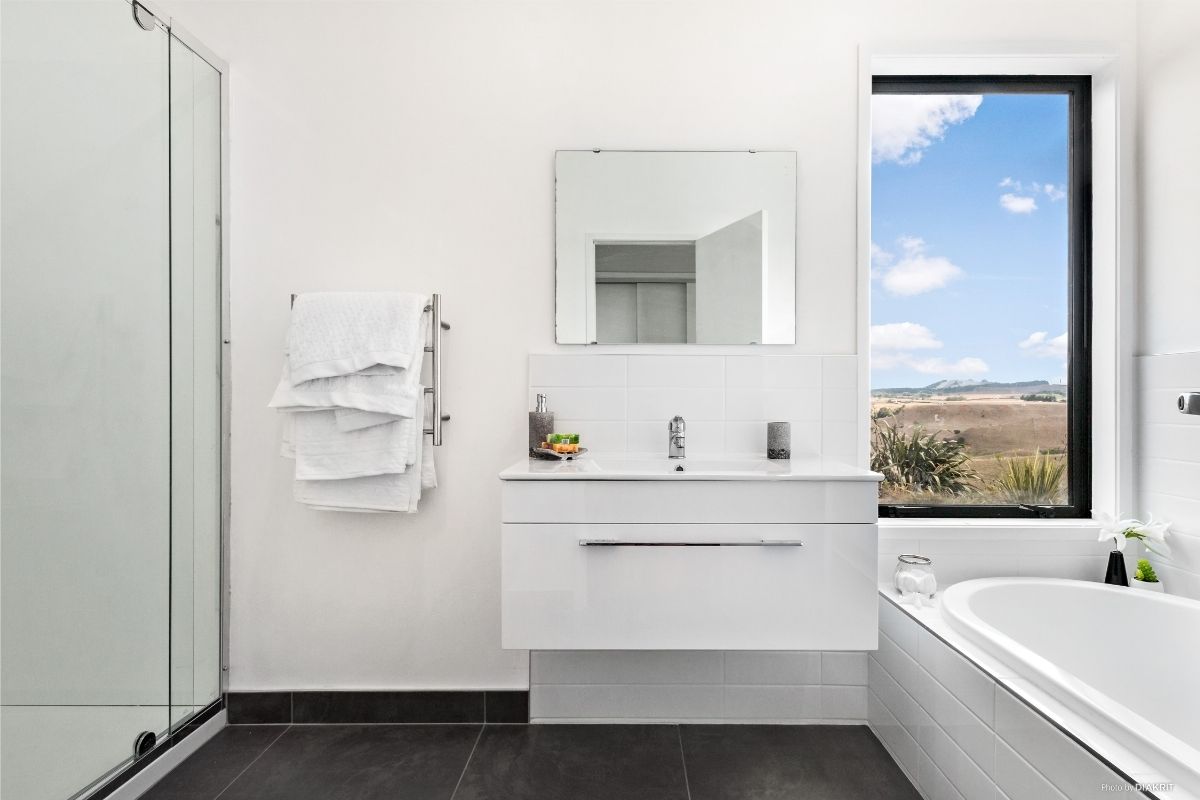
Step 6. Choose your bathroom configuration
Family bathroom with bath & shower
Ensuite + main
Separate WC
Shower / Bath only options
Hidden storage that keeps homes feeling calm
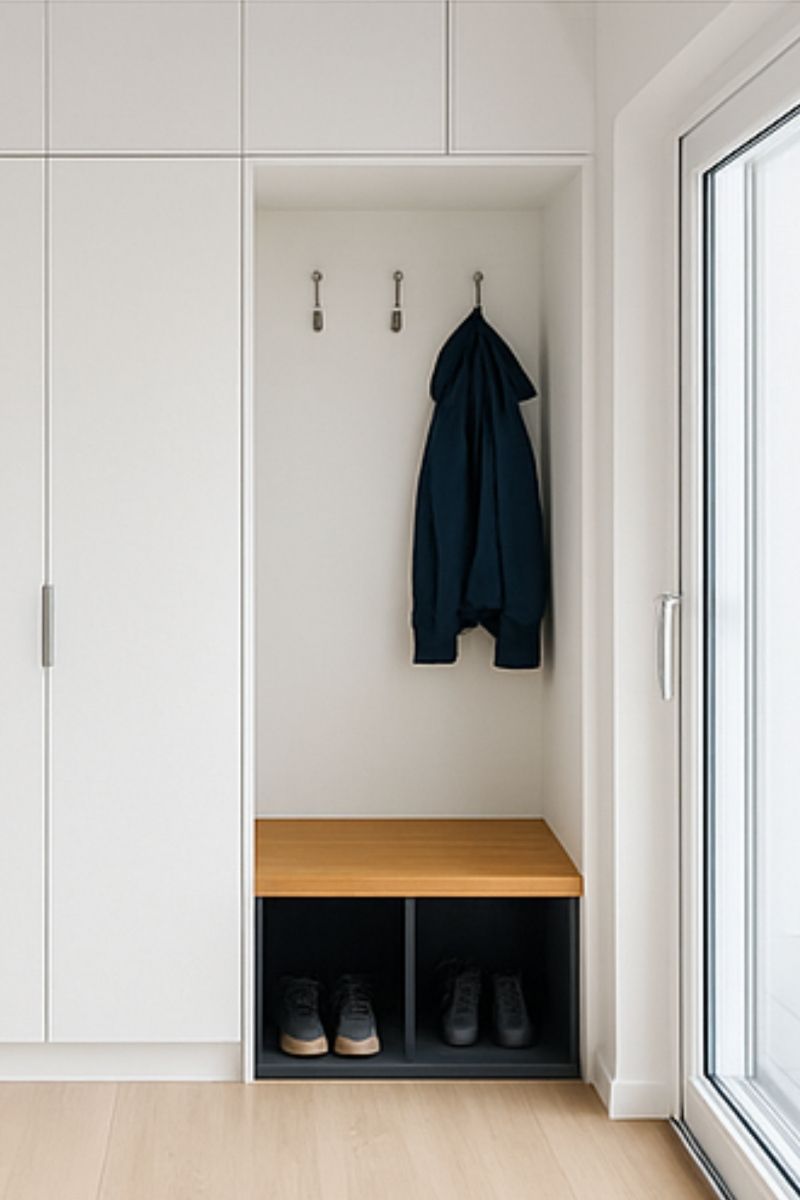
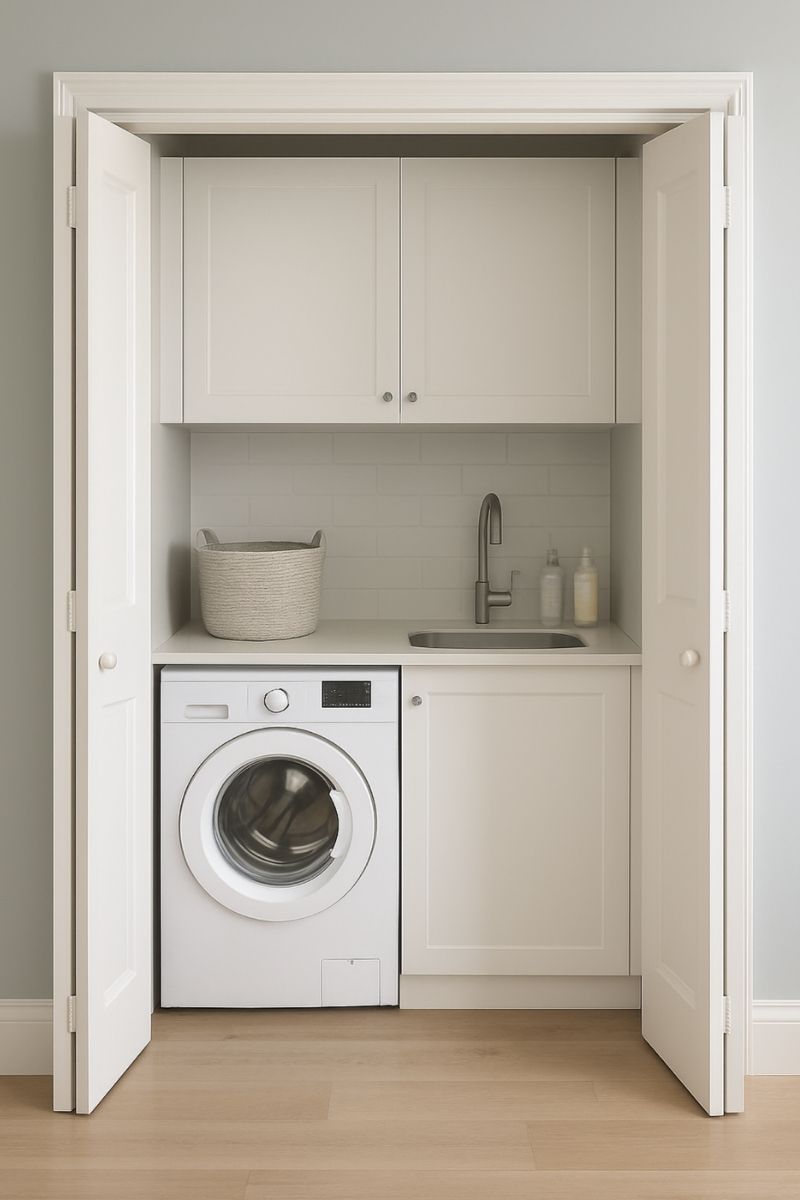
Step 7. Choose your laundry & storage solutions
Hidden laundry nooks
Hallway storage
Entry storage options
Study nooks
Window seat nooks
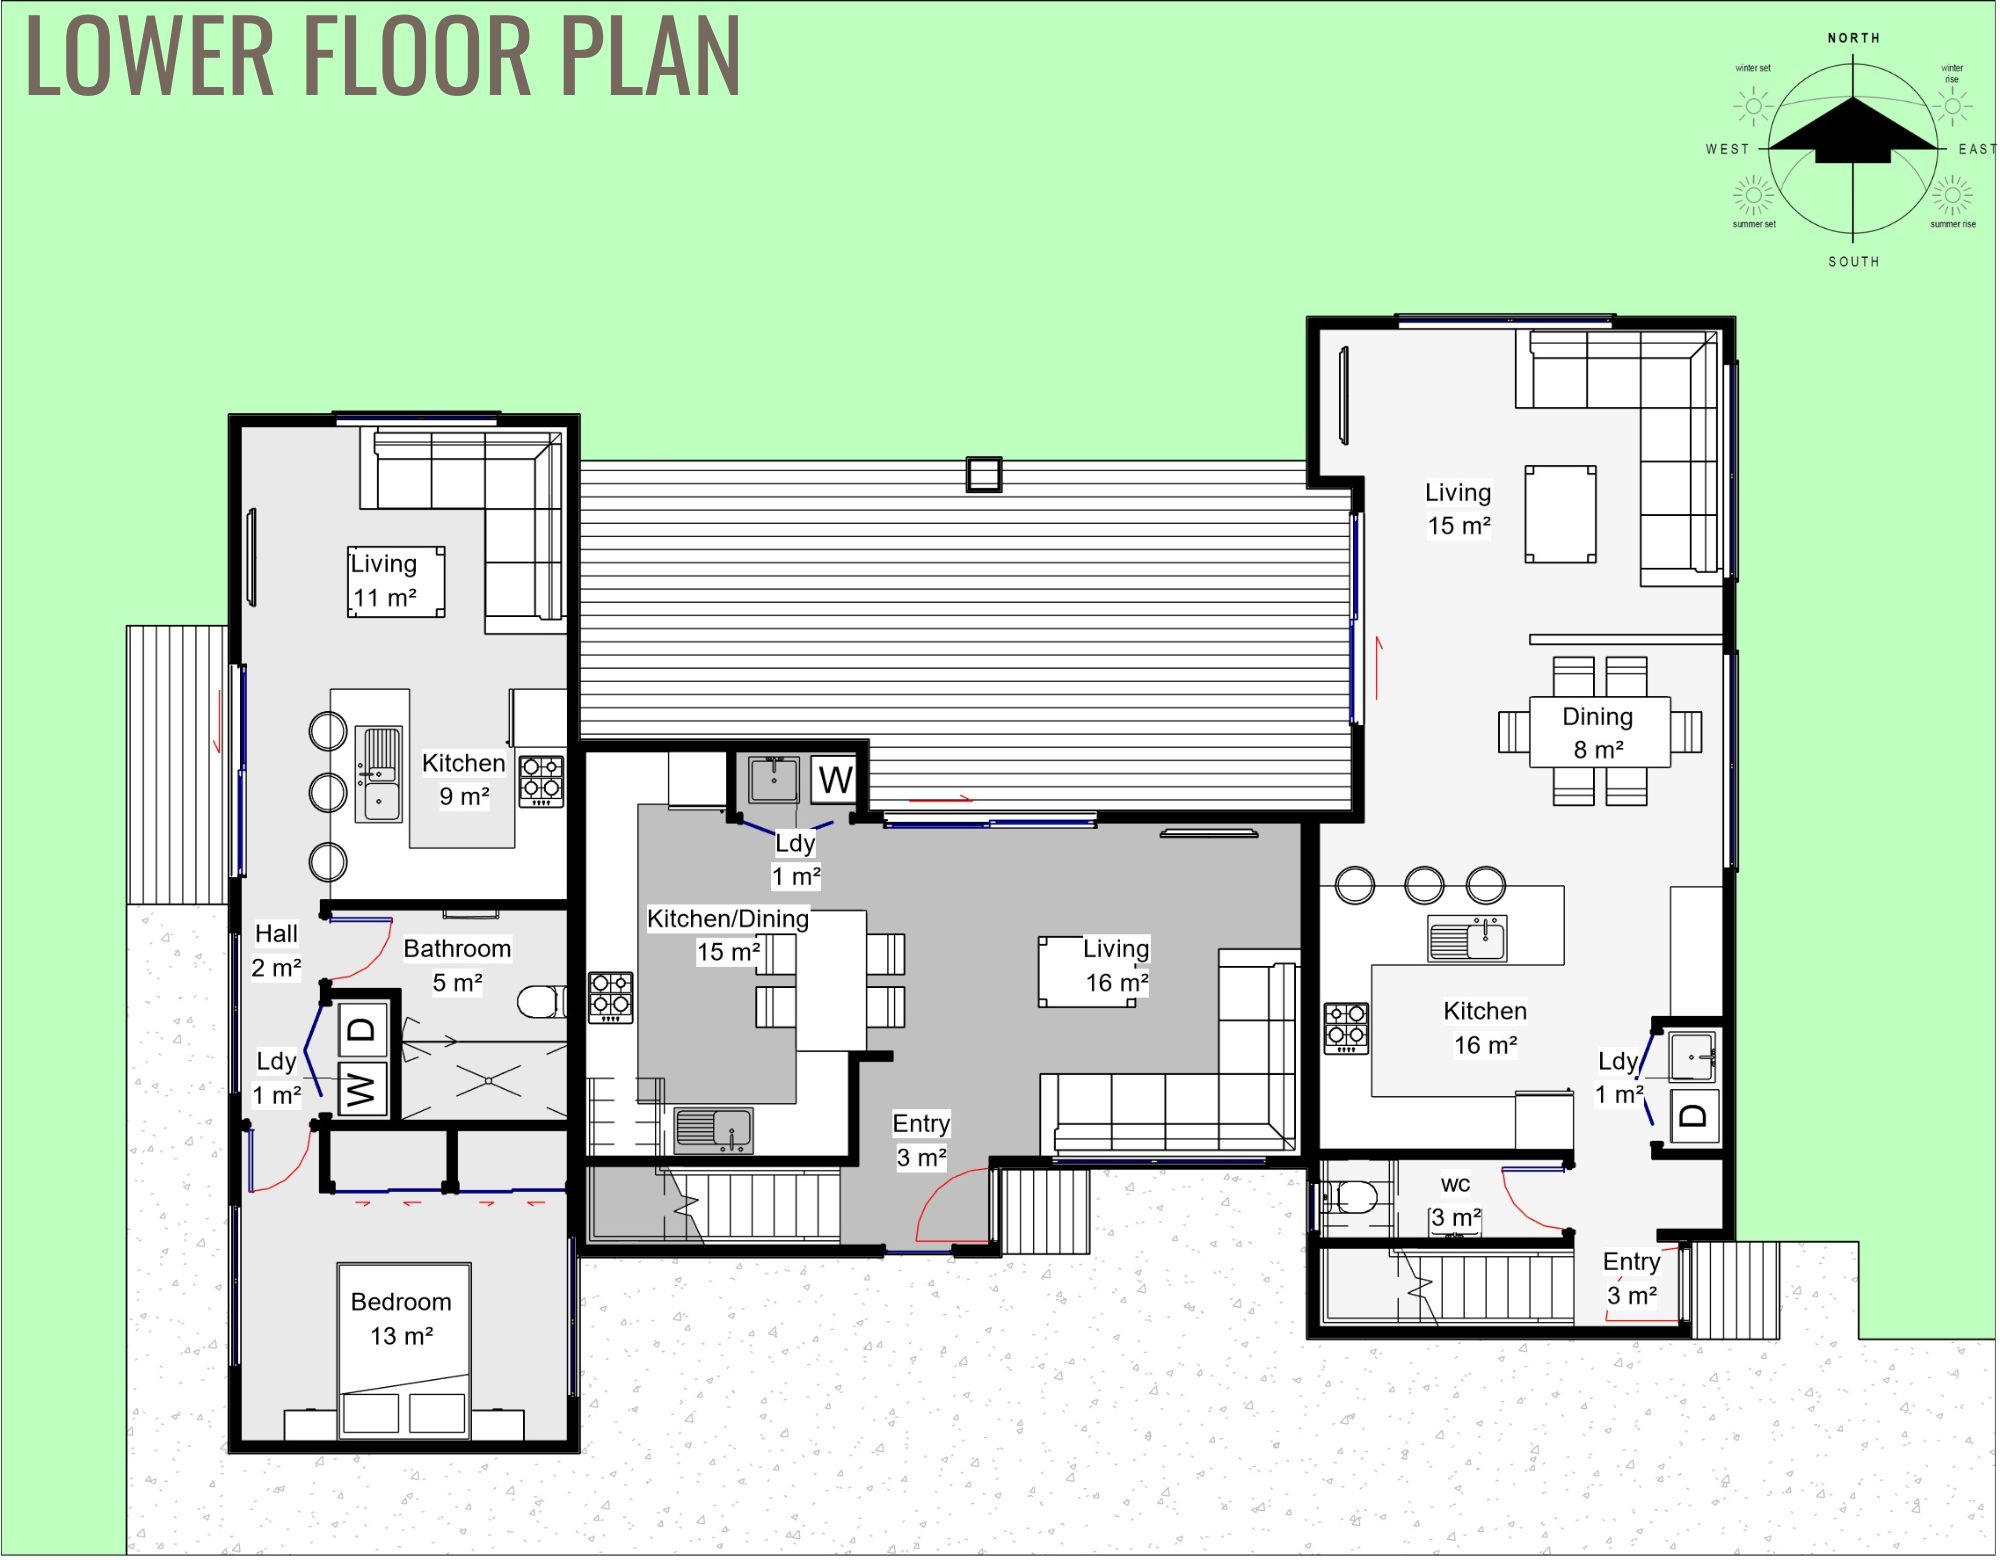
Designed for your site — not a generic plan
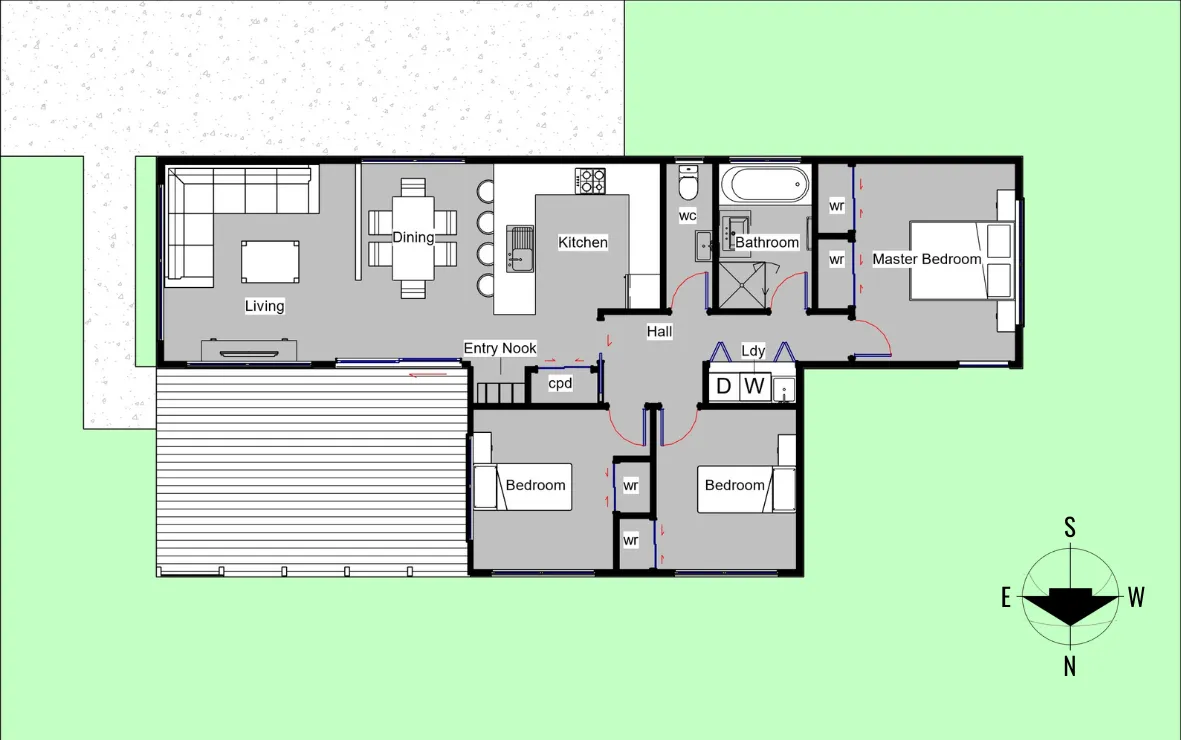
Step 8. We arrange it to suit your site
Rotate and adapt to:
Sun
Access
Privacy
Site shape
Simple forms that keep costs down
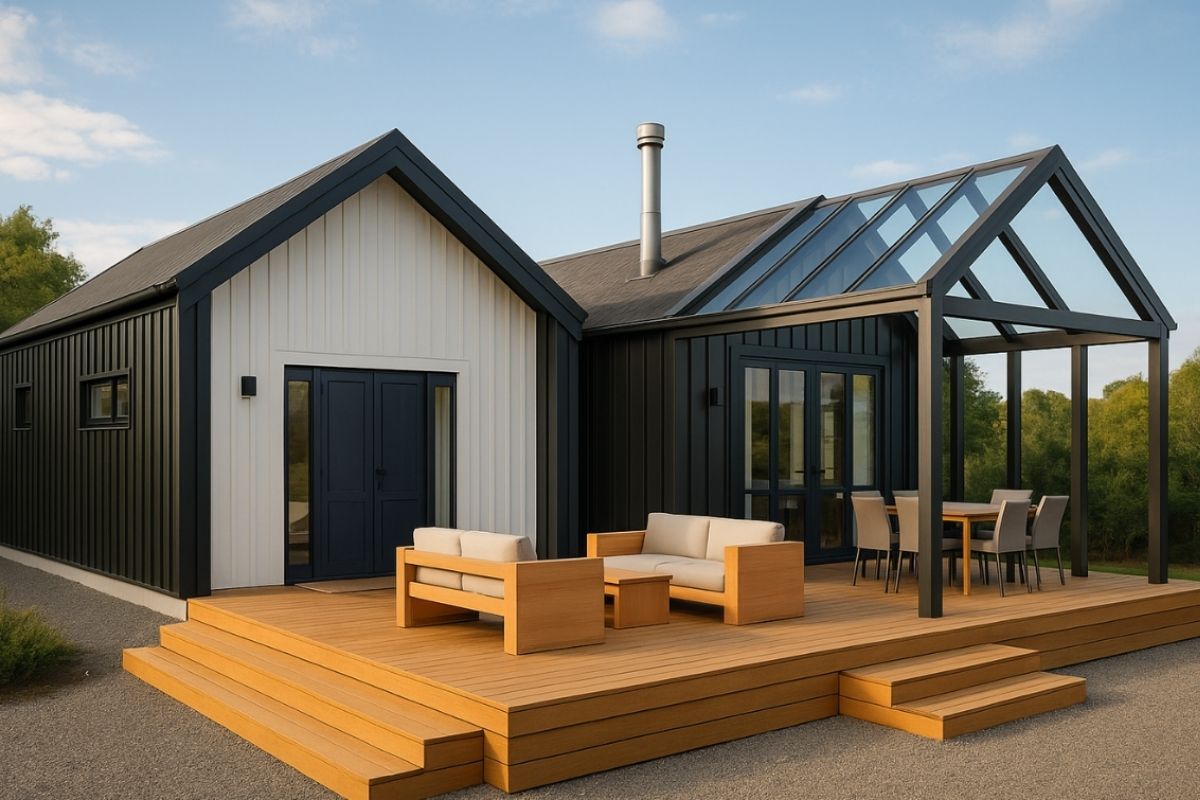
Step 9. Choose your roof style
Simple gable
Mono-pitch
Cost-efficient forms that still look great
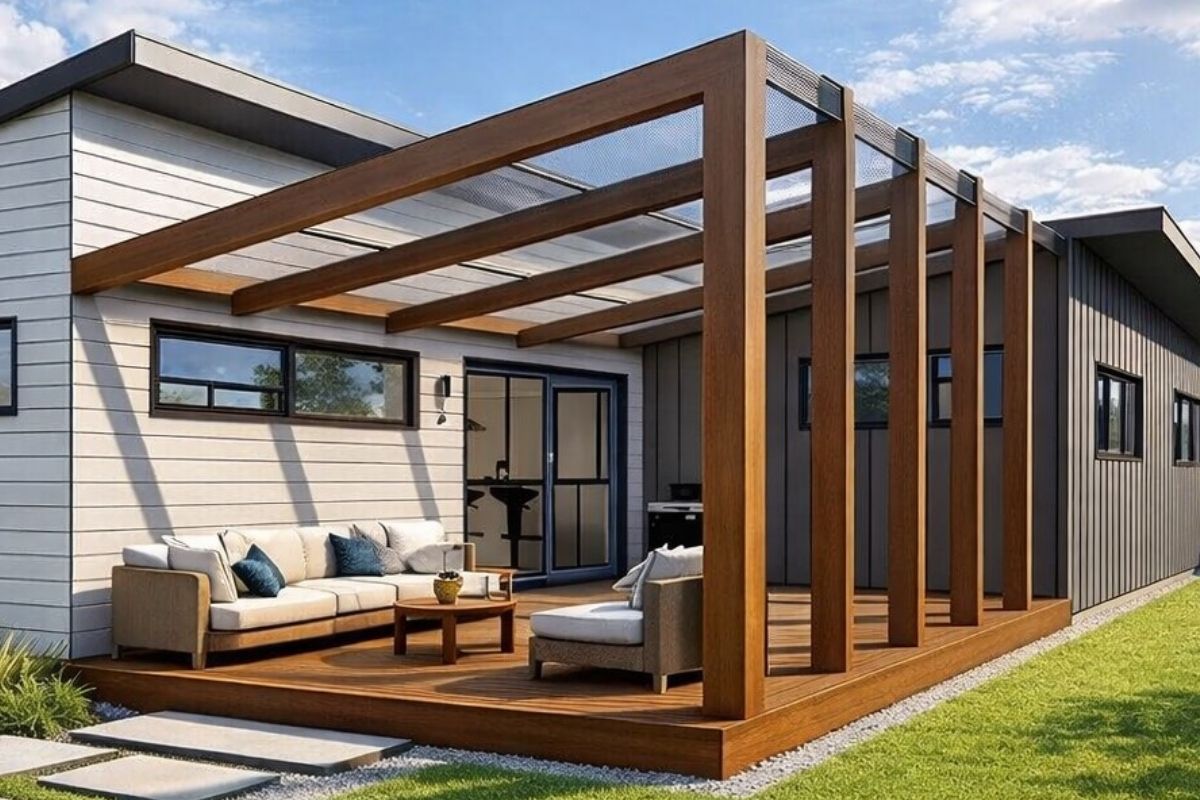
Indoor–outdoor connections that expand how a home feels
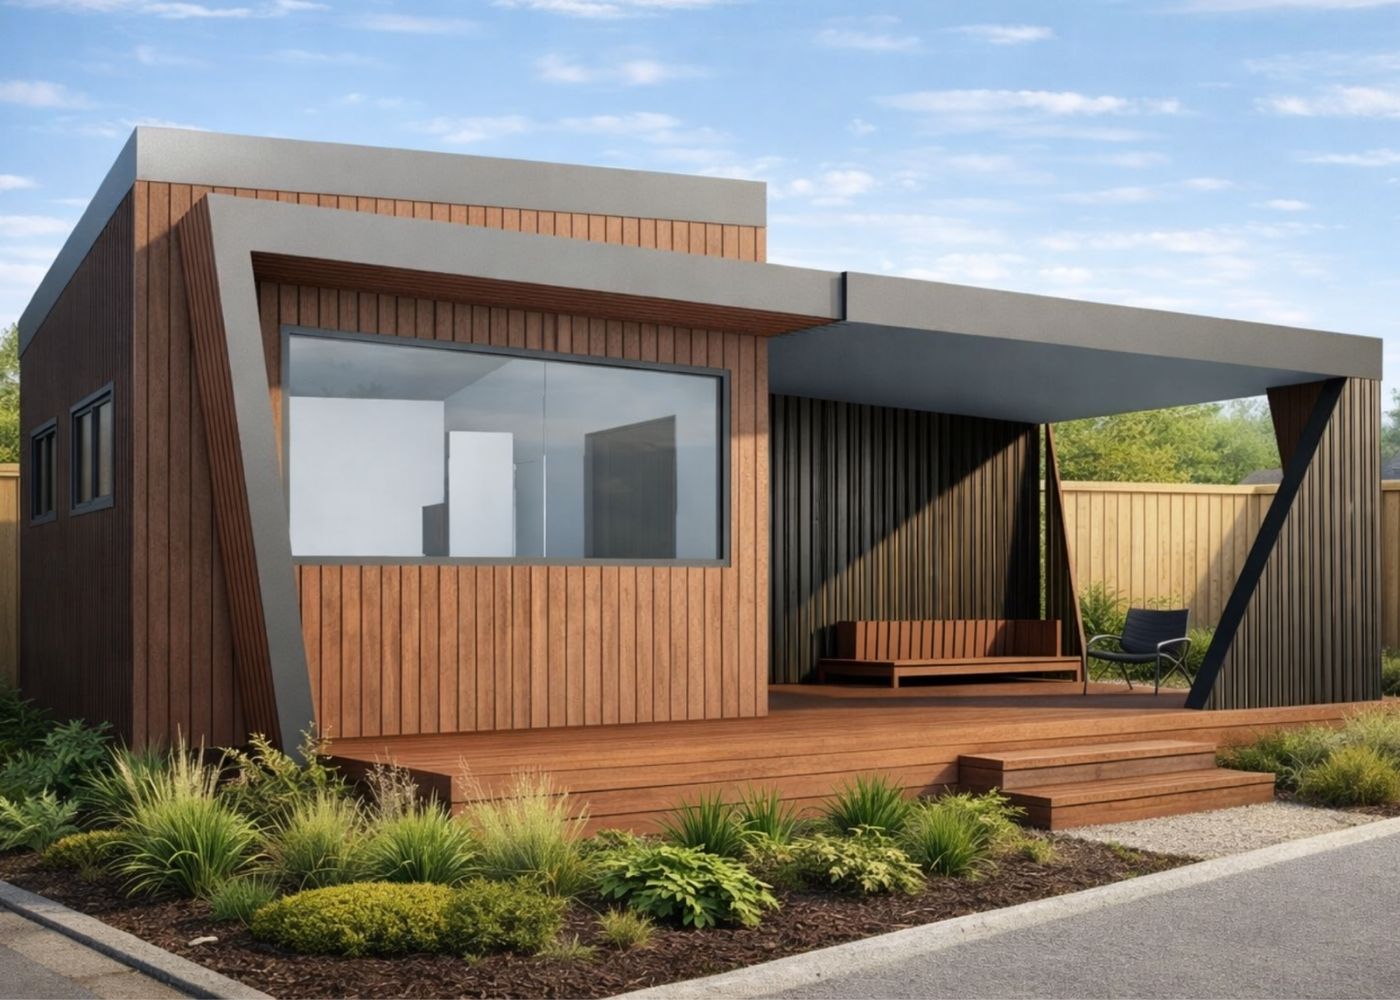
Step 10. Choose your outdoor connection
Covered Deck
Courtyard
Covered entry
Designed to adapt as life changes
Step 11. Optional - Future Proof Your Design
Designed with adaptability in mind — layouts can evolve as your needs change, with options to reconfigure spaces or add bedrooms.
We work out how you can add on in the future to suit your growing needs, with minimal cost and disruption to the existing home
Additional cost: $500
Clear pricing, no surprises
Single Home Design Fee: $2,500
This covers:
Site-responsive layout
Your customised floor plan
Elevations
A clear design direction you can present to your builder
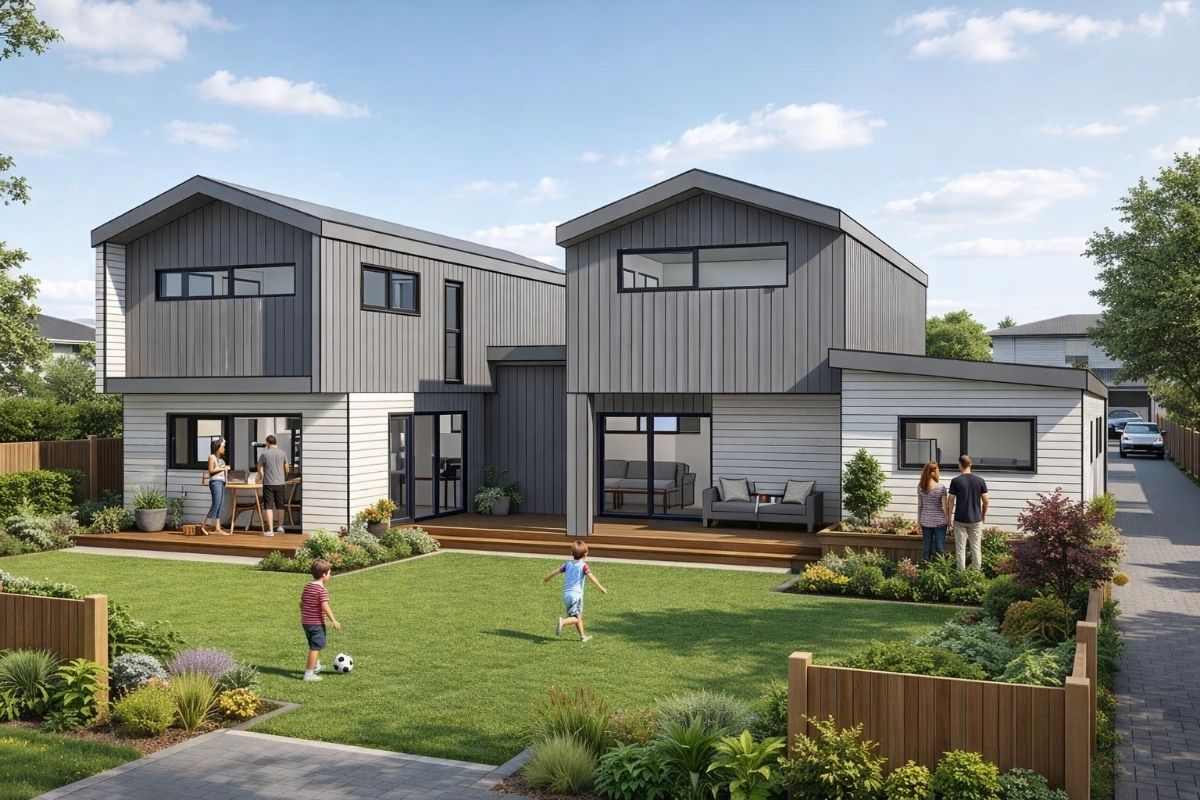
Multi-Generational & Mixed Sites
Projects, start with clarity

Step 1. Define your site & household structure
At the start of a multi-generational or shared-site project, we define the overall structure of the site before designing individual homes.
This includes:
The number of dwellings on the site
Who each dwelling is for (owners, family members, future use, rental, etc.)
Whether each dwelling is single-storey or two-storey
The number of bedrooms required for each dwelling
The level of independence required for each dwelling
(full kitchen, kitchenette, shared facilities, or sleep-out style use)
Establishing this structure early ensures each home is designed with clear intent and avoids revisiting fundamental decisions later in the process.
Design starts with your real budget
Step 2. Define your budget framework
Once the overall site and household structure is defined, we establish a clear budget framework for the project.
This includes:
An overall budget for the site
How that budget is allocated between dwellings
Understanding how dwelling size, storey count, and level of independence affect cost
Defining the budget at a site level ensures each dwelling is designed within realistic constraints and avoids competing priorities later in the process.
This budget framework then guides all subsequent design decisions for each home, without needing to revisit or renegotiate budgets at every stage.
Design for real life, not assumptions
Step 3. Any special requirements?
At this stage, we identify any specific requirements that need to be considered early in the design process.
This may include accessibility or mobility considerations (now or in the future), health or care needs, working from home, ageing in place, or any other non-negotiables that affect how the homes need to function.
For shared sites, these requirements are considered early, as they can influence dwelling placement, access routes, and how the site works as a whole — not just the internal design of individual homes.
Let the site inform the design — even if you haven’t found it yet
Step 4. Site Requirements
At this stage, we confirm the site conditions the home needs to respond to.
If you already have a site, this includes:
Site shape and size
Orientation
Whether the site is generally level or sloping
Access location
This allows the design to respond directly to the specific characteristics of your site.
If you don’t yet have a site, we:
Use your budget and brief to define a likely site size and shape
Assume a generally level site
Design the homes to work across a range of site orientations, rather than locking it to one specific direction
This approach allows you to progress your home design before securing land, giving you greater flexibility when searching for potential sites.
Vehicle access and car storage preferences are also considered at this stage, including whether vehicles need to access the site, preferences for on-site parking, carports or garages, and whether stacked parking or reversing on site is acceptable.
On compact or constrained sites, not all access or parking preferences may be feasible. Where preferences conflict with site constraints, we’ll advise on practical alternatives.
The heart of the home comes first
Step 5. Choose your kitchen–dining–living options
With the site strategy established, we focus on the heart of each home. This step explores kitchen, dining, and living arrangements that suit:
The role of each dwelling
The level of independence required
The available footprint
Layouts are designed to balance comfort, connection, and efficiency within the constraints already defined.
Bedrooms designed for real life
Step 6. Choose your bedroom configurations
The number of bedrooms for each dwelling has already been defined earlier. Now we refine bedroom layouts:
Bedroom sizes and proportions
Master vs secondary bedroom priorities
Flexibility for guests, work, or future needs
Space-saving strategies where appropriate
The goal is to make each bedroom work well within the available footprint.
Bathrooms that work harder in less space
Step 7. Choose your bathroom configurations
We design bathrooms that suit:
Household needs
Accessibility requirements
Space efficiency
This may include compact layouts, accessible configurations, or shared considerations depending on the dwelling type.
Hidden storage that keeps homes feeling calm
Step 8. Choose your laundry & storage solutions
Storage and laundry requirements are resolved efficiently, based on the level of independence defined earlier.
This may include:
In-dwelling laundry
Laundry nooks
Shared laundry facilities
Good storage and functional planning are essential for shared sites to work well long-term.
Designed for your site — not a generic plan
Step 9. We arrange the homes to suit your site
Each dwelling is arranged to work within the wider site strategy, considering:
Orientation and solar access
Privacy between dwellings
Access routes
Outdoor relationships
This step ensures the site functions as a cohesive whole, not just a collection of individual houses.
Simple forms that keep costs down
Step 10. Choose your roof style
We select a roof style that suits each dwelling and how the buildings relate to each other on the site.
This may include:
Simple gable roofs
Mono-pitch roofs
A combination of both, depending on layout and site relationships
Roof forms are chosen to be cost-effective, straightforward to build, and visually cohesive across the site — ensuring the homes work well together and still look great.
Indoor–outdoor connections that expand how a home feels
Step 11. Choose your outdoor connection
Outdoor areas are designed to support how the site is used — whether that’s shared spaces, private courtyards, or a combination of both.
Designed to adapt as life changes
Step 12. Optional - Future Proof Your Design
Where appropriate, we consider how the site and dwellings may adapt over time, including:
Changing household needs
Increased independence
Future accessibility requirements
This helps ensure the site remains functional and flexible long after it’s built.
Additional cost: POA
Clear pricing, no surprises
Multi- Generaltional Multi Site Design Fee: POA
This covers:
Site-responsive layout
Your customised floor plans
Elevations
A clear design direction you can present to your builder
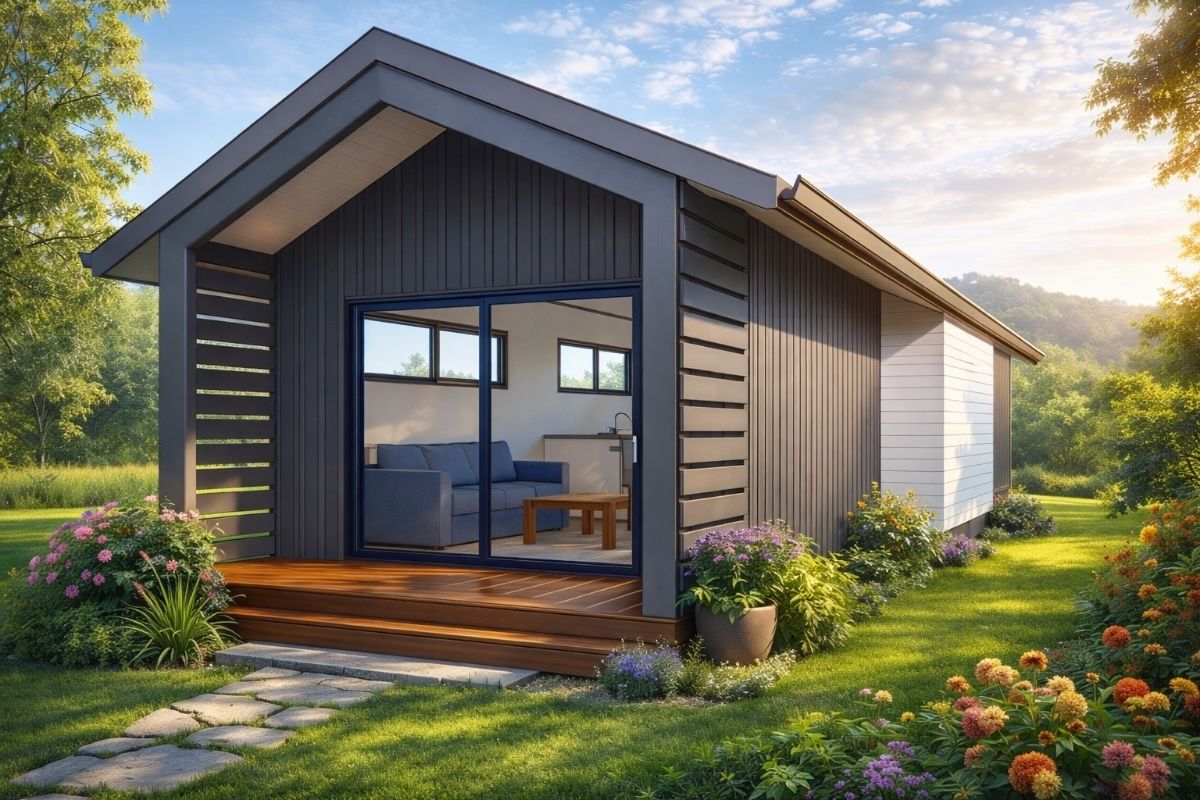
Minor Dwellings / Granny Flats
Pre Design / Feasibility Phase
Confirm whether a granny flat is achievable — and what will work best on your site.
Before committing to a full design, we start with a pre-design feasibility stage. This ensures the project is realistic, appropriate for your site, and aligned with how the granny flat will be used.
This stage is especially important for minor dwellings, as they sit within an existing property and must work alongside the main home — not compete with it.
During this stage, we look at the following:
Every projects starts with your real budget
Step 1. Define your budget
Before choosing bedrooms or layouts, we start with your real build budget.
This determines the maximum floor area that makes financial sense — so your minor dwelling works on paper and in real life.
Design for real life, not assumptions
Step 2. Any special requirements
This may include accessibility or mobility needs, ageing-in-place considerations, privacy requirements, or lifestyle factors that affect how the dwelling should function.
Designed for your site — not a generic plan
Step 3. Site, access & layout considerations
You provide a site plan (often available within the original house plans) or a survey, along with a floor plan of the existing dwelling. We review the site as a whole to understand how a granny flat could work alongside the existing home.
This includes consideration of:
site shape and available buildable area
orientation and sun access
whether the site is generally level or sloping
how the granny flat relates to the existing house
access paths and entry expectations
whether a clearly defined or separate entry is required
vehicle access and parking requirements, including any needs related to mobility or independence
Using this information, we determine how the granny flat should be arranged on the site to balance access, privacy, daylight, and overall usability.
Clear pricing, no surprises
Pre Design / Feasibility Fee: $500
At the end of this stage, you’ll have:
confirmation that a granny flat is feasible on your site
a recommended overall layout and building shape
an indicative floor area
a simple site concept diagram showing how the proposed granny flat could sit in relation to the existing home.
This provides a clear foundation for moving into the design stage with confidence.
Design Phase
The heart of the home comes first
Step 1. Choose your kitchen–dining–living option
We design a compact but comfortable living space, including full kitchen or kitchenette options depending on how independent the dwelling needs to be.
Bedrooms designed for real life
Step 2. Choose your bedroom configuration
We confirm the number of bedrooms and how they’ll be used — whether as a primary bedroom, guest room, office, or flexible space.
Bathrooms that work harder in less space
Step 3. Choose your bathroom configuration
Family bathroom with bath & shower
Separate WC
Shower / Bath only options
Future Accessibility Requirements?
Hidden storage that keeps homes feeling calm
Step 4. Choose your laundry & storage solution
Storage and laundry requirements are defined. We resolve whether the granny flat has:
its own laundry
a laundry cupboard
Shared access to the main home’s laundry
Hallway storage
Entry storage options
Study nooks
Simple forms that keep costs down
Step 5. Choose your roof style
Simple, cost-effective roof forms (gable, mono-pitch, or a combination) are selected to suit the site and relate well to the existing house.
Indoor–outdoor connections that expand how a home feels
Step 6. Choose your outdoor connection?
Small decks or outdoor spaces are considered where appropriate, within the constraints of the site.
Clear pricing, no surprises
Design Fee: $1,250
At the end of this stage, you will have:
a site-specific granny flat design
a clear, well-resolved layout
floor plan and elevations ready to move forward with